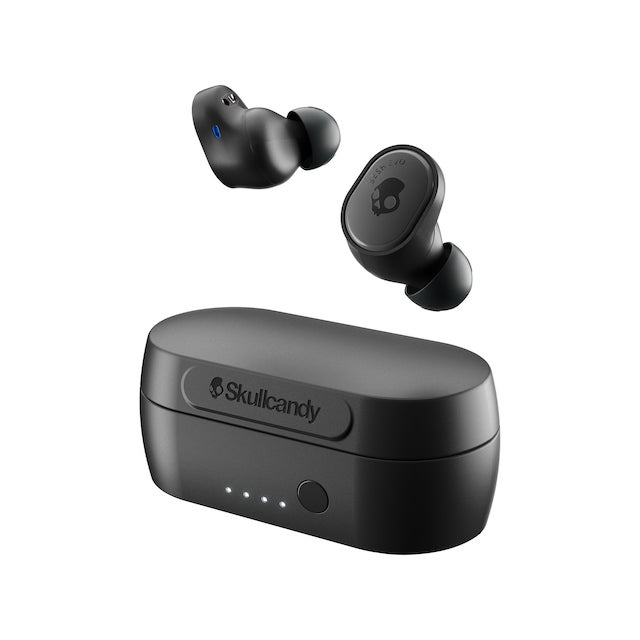
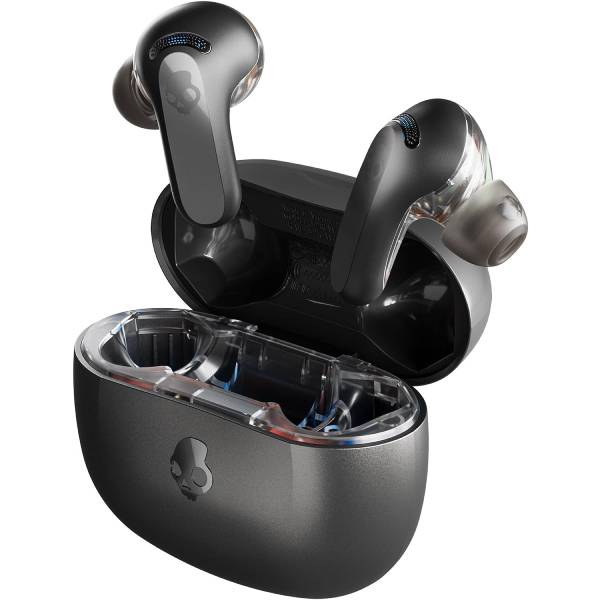
Getting Started with Your Skullcandy Earbuds
Welcome to the Skullcandy family! How to pair skullcandy wireless earbuds? Before you can enjoy your music wirelessly, it’s essential to properly set up your Skullcandy wireless earbuds. This process involves a few simple steps that will have you listening in no time. Let’s break down what you need to do to get your earbuds ready for pairing. First, ensure your Skullcandy wireless earbuds are fully charged. You don’t want them running out of juice in the middle of the pairing process.
Next, locate the power button on the earbuds. This is typically found on one of the earpieces. Press and hold this button until you see an LED light blinking. This light signifies that your earbuds are powered on and ready to connect. Remember, some models may have a different method to turn them on. So, check your user manual if in doubt. Now that your earbuds are charged and on, you’re ready to move on to the actual pairing process. Up next, I’ll walk you through a step-by-step guide on how to pair Skullcandy wireless earbuds with your device.
Initial Setup: Charging and Turning on Your Earbuds
Before you dive into your music, proper setup is key. Here’s how you’ll start:
- Charge Your Earbuds: First, fully charge your Skullcandy wireless earbuds. Plug them in until the LED indicator shows they’re ready to go.
- Power Them On: Find the power button on your earbuds. It’s usually on the side. Press and hold this button. Wait for a blinking light. This means they are on and set to pair.
Charge and power on. These two steps form the foundation of a hassle-free pairing process. Skipping them might lead to issues later on. The indicator typically turns solid once they’re charged. Done charging? Check. Ready to pair? That’s next!
Step-by-Step Guide to Pairing Your Earbuds
Now that your Skullcandy wireless earbuds are charged and on, let’s pair them with your device. Follow these simple steps:
- Activate Pairing Mode: Make sure your device’s Bluetooth is on. Then, put your earbuds into pairing mode. Usually, this means holding down the power button for a few seconds until you see a flashing light.
- Find Your Earbuds on Your Device: On your phone or other device, go to the Bluetooth settings. Look for a list of available devices. Find your Skullcandy earbuds on this list. They might show up as ‘Skullcandy’ followed by a model number.
- Select and Pair: Tap on your Skullcandy earbuds in the list of devices. You might get a prompt to confirm the pairing. Tap ‘Yes’ or ‘Pair’ to confirm. If a PIN is required, try 0000 or 1234, which are common defaults.
- Confirm Connection: After confirming, wait for a notification that says your earbuds are connected. You might hear a sound from the earbuds too.
- Enjoy Your Music: Once connected, you can start playing your music. Test the sound to make sure everything works well.
Pairing your Skullcandy wireless earbuds should be quick and simple. If it doesn’t pair on the first try, repeat the steps. Ensure your device’s Bluetooth is on, and your earbuds are in pairing mode. If you encounter problems, don’t worry. The upcoming sections will address common challenges and how to solve them.

Common Pairing Challenges and Solutions
Sometimes pairing Skullcandy wireless earbuds with your device can hit snags. But don’t worry. Here are some common issues and how to fix them:
- Earbuds Not Entering Pairing Mode: If the LED light doesn’t blink, they may not be in pairing mode. To fix this, hold the power button longer, until the light starts flashing.
- Device Not Finding Earbuds: Make sure your Skullcandy earbuds are in range and in pairing mode. Refresh your device’s Bluetooth list if you can’t see them.
- Pairing but No Sound: When your device and earbuds pair but there’s no sound, check if the volume’s up on both. Ensure they’re set as the audio output device, too.
- Prompt Requests a PIN: If prompted for a PIN and you don’t know it, try ‘0000’ or ‘1234’. These are standard default PINs for many Bluetooth devices.
- Frequently Disconnects: If the earbuds keep disconnecting, make sure there are no physical obstructions. Also, keep them within a good range of your device.
- Pairing With Multiple Devices Is Tricky: Some earbuds can store multiple connections. Disconnect from one device before trying to connect to another.
- Previous Device Auto-Connecting: If an old device automatically connects to your earbuds, turn off its Bluetooth. This will free up the earbuds to pair with a new device.
If these steps don’t work, you may need a factory reset. We’ll cover that next. Remember, patience is key. Troubleshooting takes time, but you’ll get there!
Troubleshooting Connectivity Issues
Sometimes, even after successful pairing, your Skullcandy wireless earbuds may have connectivity issues. Don’t worry—here’s how to fix it.
- Check the Distance: Keep your earbuds within the recommended range of your device. Too far? They may disconnect.
- Eliminate Interference: Walls, other Bluetooth devices, and Wi-Fi routers can cause interference. Move to a clearer space if needed.
- Restart Both Devices: Turn off your earbuds and your Bluetooth device. Then, turn them back on to reconnect.
- Update Your Device: Ensure your phone or tablet is up-to-date with the latest software updates.
- Forget and Reconnect: Go to your device’s Bluetooth settings. Forget the Skullcandy earbuds. Now, pair them again.
Connectivity issues can be frustrating, but these steps often solve the problem. Keep your devices updated and within a good range, and you can enjoy uninterrupted music with your Skullcandy wireless earbuds.
Resolving Audio Problems After Pairing
Having successfully paired your Skullcandy wireless earbuds, you might still face some audio issues. Don’t let this dampen your listening experience. Here’s how you can resolve these problems and get back to your tunes in no time.
- Check the Volume Levels: Ensure that both the earbuds and your device’s volume aren’t set to mute or too low.
- Inspect the Audio Source: Sometimes, the issue lies with the audio file or streaming service. Try playing another song or video.
- Earbuds Fit: Poor fit can affect sound quality. Adjust them in your ears to see if that improves the audio.
- Check for Updates: Your device may need a software update for optimal performance with your earbuds.
- Re-Pair Your Earbuds: Disconnect your earbuds and reconnect them. This can often fix minor audio glitches.
- Bluetooth Interference: Other wireless devices can interfere. Turn off nearby Bluetooth gadgets and try again.
- Battery Check: Low battery can impact sound. Charge your earbuds if they’re running low.
- Mono or Stereo Mode: Some Skullcandy earbuds can switch between mono and stereo. Ensure they are set correctly.
By following these steps, most audio issues with your Skullcandy wireless earbuds should be resolved. Keep your earbuds charged, up-to-date, and well-fitted to ensure the best audio experience possible.

Maintaining Bluetooth Connection Stability
Maintaining stable connection with your Skullcandy wireless earbuds is essential for uninterrupted listening pleasure. After you have paired your earbuds following the previous steps, there are best practices to ensure the connection remains strong and consistent. Here are practical tips to keep your Bluetooth connectivity stable:
- Stay in Range: Always keep your connected device within the optimal range of your Skullcandy earbuds. Too far away may cause drops in connection.
- Limit Obstructions: Clear the path between your earbuds and device. Walls and large objects may weaken the Bluetooth signal.
- Manage Your Devices: Too many Bluetooth devices active in the area can cause interference. Try to reduce the number of active connections around you.
- Charge Regularly: Low battery affects performance. Charge your earbuds often to keep the connection stable.
- Avoid Software Conflicts: Make sure your device is not running conflicting apps or processes that could interfere with Bluetooth functionality.
- Reset Connection as Needed: If you notice frequent disconnections, turn the earbuds and device’s Bluetooth off and on again to refresh the connection.
Remember to perform these checks regularly to ensure that your Skullcandy wireless earbuds deliver the audio experience you expect. The key to maintaining a stable Bluetooth connection lies in understanding and managing the environment in which your earbuds and Bluetooth device operate.
Factory Reset: When All Else Fails
When you’ve tried all troubleshooting steps and your Skullcandy wireless earbuds won’t pair or connect reliably, a factory reset may be necessary. This step will erase all previous settings and subjects the earbuds to ‘forget’ any devices they’ve been linked to. Here’s how to perform a factory reset:
- Turn Off the Earbuds: Ensure your earbuds are completely turned off before you begin the reset.
- Enter Reset Mode: With the earbuds off, press and hold the power button for a longer period, often around 10 seconds, until you hear a sound or see a light pattern that indicates the reset mode.
- Confirm the Reset: Wait for a voice prompt or a specific light sequence that confirms the earbuds have reset. The earbuds might turn off and on again during this step.
- Re-pair Your Earbuds: Once reset, you’ll need to pair the earbuds with your device again as if they are new.
Remember, a factory reset should be your last resort. Go through prior steps whenever issues arise before attempting this. After a factory reset, set up your Skullcandy wireless earbuds from scratch and enjoy your music worry-free. Keep these steps handy for any future needs, and always refer to your user manual for model-specific instructions as processes may vary.